Tuesday, March 20, 2012

To Conquer or Not to Conquer the Craft Room

Well, the time has come to officially embark on the grand overhaul of my craft room.  Having moved into a new space = a chance to start new, right?

Well, let's just look at the current state of affairs in casa de Nubia.  The situation is NO BUENO!


So, how do I even begin to tackle the disorganized chaos?  I was trying to create zones, but I soon realized that I needed a system because I still wasn't able to find things easily.  I mean, let's not ignore the fact that this is the ONLY room in the house that still has unpacked boxes.  Oy vey!

Thankfully, I happened across an organization webinar from The Scrap Rack company last year.  I had reviewed the first lesson last year and thought the concept was interesting.  I, however, didn't do the rest of the lessons. They ultimately would love it if you buy their products, but there is no purchase required to take the course.  So generous of them!

This time, I am going full force and am promising myself that I will finish this course and end up with a fantastic room.

Lesson one asked us to identify the 4 major benefits we will get from organizing our room and our rewards for completing each lesson.  Here's my board!


We also had some extra credit questions to answer, so I figured I'd keep on track and fully answer those too!


Next lesson is to tackle the paper - which I have a CRAP LOAD of, so lesson two is sure to be a painfully tedious process!  I'm planning to start that tomorrow!

Thursday, March 15, 2012

Take Twelve on the 12th Day project - February

Some time at the end of last year, I proclaimed that I was going to try and take a picture a day and make a layout a day.  Considering my scrapbooking tends to be quite layered, I quickly learned that this was not a feasible goal for me.  There are very talented people who have put together kits where this might be possible next year, but my initial design plan needed to quick modification.

That's when I discovered the Ella Publishing Company's Take Twelve project.  The basic concept is that you take twelve photos on the twelfth day of each month and then create a layout about that day in your life.  I still need to go back and do January and March, but February was SUPER easy to do because we threw a surprise baby shower for my friend Barbara that day.

The Take Twelve project does have templates that you can use to figure out how to lay out your photos, but I decide to take a stab at it on my own to see what I could come up with.  Twelve photos are A LOT of photos, so I had to create a plan ahead of time so that I knew how to print up my photos.

I'm pretty pleased with the final layout!  I knew that I wanted to highlight the guest of honor, but I still needed to have enough room for all the other pics.


  • The big photo of Ellie is 4x4 inches
  • My little photos are 1.75x 1.75 inches (I first shrunk the photos on photoshop) and matted on 2x2 inch squares
  • SEI couture paper line
  • martha stewart butterfly punch

Sunday, March 11, 2012

Copic on-line course by Created from Color

For the past couple of weeks, I've been taking an on-line course on how to color properly with Copic markers.  Copics are alcohol based markers - architects, interior designers, comic book illustrators, etc. use similar based markers.

I've become more obsessed with Copic markers since I started designing for Card Cupids because we use digital stamps.  So when this course came along from Created from Color - I just knew I had to sign up.

Anyway, I'm no expert yet, but I am liking the results so far!


Friday, March 2, 2012

Boy Birthday Cards

This month's Card Cupids Challenge is to make Birthday Cards for Boys. 

As a member of the design team, I challenge myself to try and make the best card possible to encourage and inspire some of our followers to submit their versions.  I always hope that our followers will then send in their creations for the kids at the local shelter where Card Cupids is based (Virginia).

Birthday Cards are easy.....masculine or boy-friendly cards....so not my strength.  I love flowers and bling...so forcing myself to tone down the feminine angle can be tough.  However, I carefully chose my images from Bugaboo Stamps so that I could have the best image to work with.  That, in itself, proved challenging because Bugaboo has a lot of cute stuff, and I could only choose two stamps.

However, after weeding through the cuteness, I came across a baseball player and fireman image that I thought would be perfect.  I didn't realize my baseball player was, in fact, a girl until I was almost done designing the card - oh well! 


My favorite is definitely this fireman card.  I doodled in my sentiment because I'm trying to force myself to not be entirely dependent on my Cricut die cutting machine.  It also makes me practice doodling for my art journal.


I've been taking an on-line Copic coloring class through Created from Color, and I definitely used some of the new tricks on these images.  I was super pleased at the smooth coloring and shading.  I can't wait to get into the real nitty gritty in that class.  I'm sure that in a couple of weeks, I'm going to think these images need a lot of work.  For now, I'll take them!

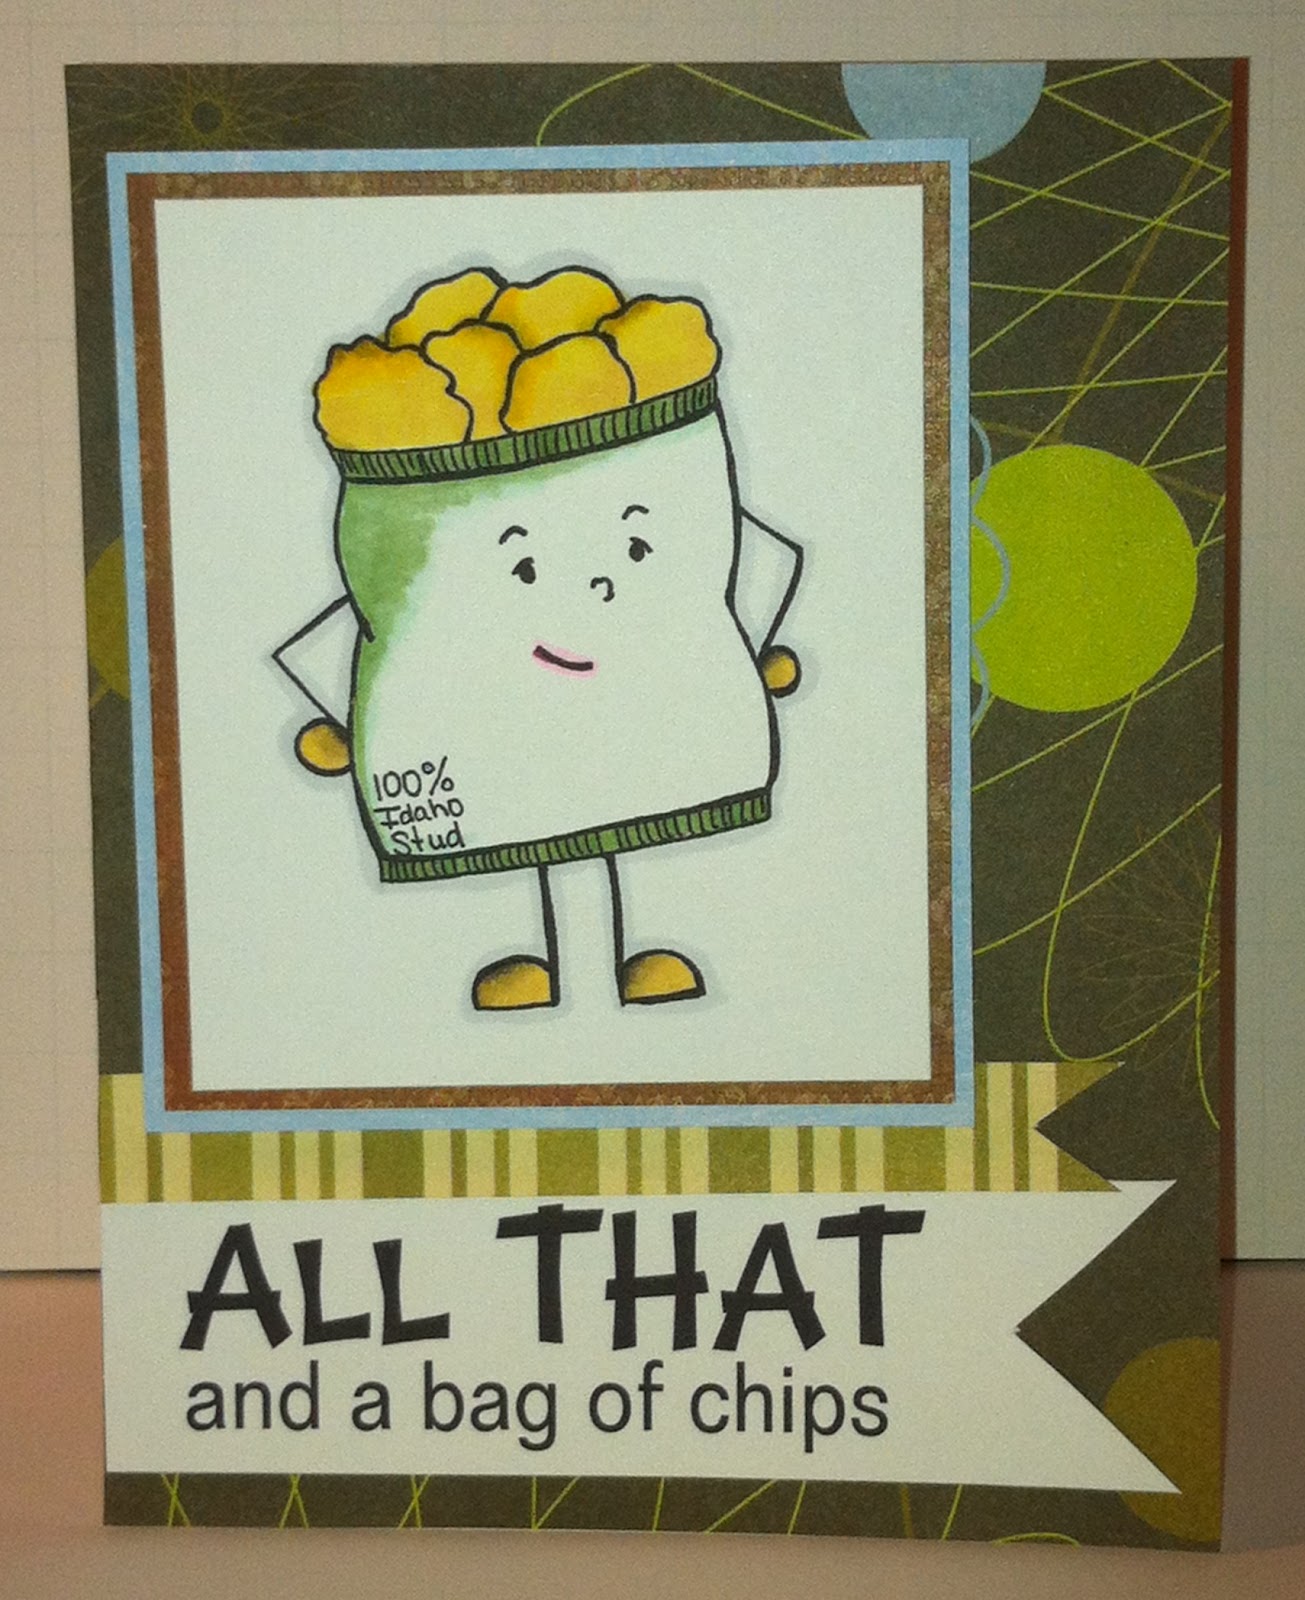
and a Bag of Chips!

I realized that I never posted a picture of one of my favorite creations from last month's Card Cupid's Challenge.  Our theme that month was to to make motivational cards for kids.  Our digital stamps last month were from Fresh Brewed Designs.  They have some really cute stuff.

I just loved this digital image - I can image sending versions of it to my smaller godkids, who would totally appreciate learning this slang phrase.  I'm sure they would spend hours laughing at calling each other bags of chips!  hmmmm....I may have just given myself an idea!

Sunday, February 26, 2012

I heart my daddy

Yet another Pinterest-inspired creation for my home....and I needed my daddy to help me complete it.  I not only needed his fancy power tools, but also his eye for spacing wall hangings.

I bought some cheap frames from my local Michaels with the intent of maybe painting them.  They aren't wood - they might, in fact, be plastic.  I honestly wasn't sure I would be able to make this work, but I went for it anyway.

I bought some cup hooks, some twine and waited for dad to come over today.  In about 30 minutes, we had assembled and hung my new "art" pieces which will be embellished with my jewelry.


My new apartment has a lot more walls for me to decorate and I'm struggling with finding the right pieces.  I figured I couldn't go wrong with making something functional in my bedroom that will also be pretty.  I'm an accessory hog...so why not showcase them, right?!


Found some cup hooks at Home Depot and they easily screwed into the frame.


Some simple twine to hang some dangling earrings. 

I now only need to figure out a fun way to display bracelets, studded earrings and rings.  Yay for fun visual displays!

My stamp club assignments

About a year ago, I was convinced to join a Stampin' Up group by my friend, Elisa.  I knew that I loved their products, so I was okay with joining this "Tupperware" party environment for products I knew I would use in my artistic creations.

The twist in our gathering is that this group of women not only get together to learn about and purchase the products, but they also swap cards.  Each month there is a new theme chosen by that month's Hostess, and each month I leave with 15 handmade cards to add to my arsenal of cards to give out to friends and family.

For December, our host asked us to make snowmen inspired cards.  I was a bit behind but I had been inspired by a card that I saw on Pinterest.  Yes, I know...Pinterest seems to be my latest obsession.  Before Pinterest, I would have told you that I had seen it on one of the many blogs I follow...Pinterest has just allowed me the place to organize and quickly find the things I love. 

So my creation was inspired by this adorable card (click on the picture to go to the blog).


And here was my final version (which the club members loved). 


I didn't have circle punches to make this on my own quickly so I used a corner rounder and gave my snowman a funkier shape.  I had some leftover felt from a previous "scarf" project so used those itty bitty scarves on my version.